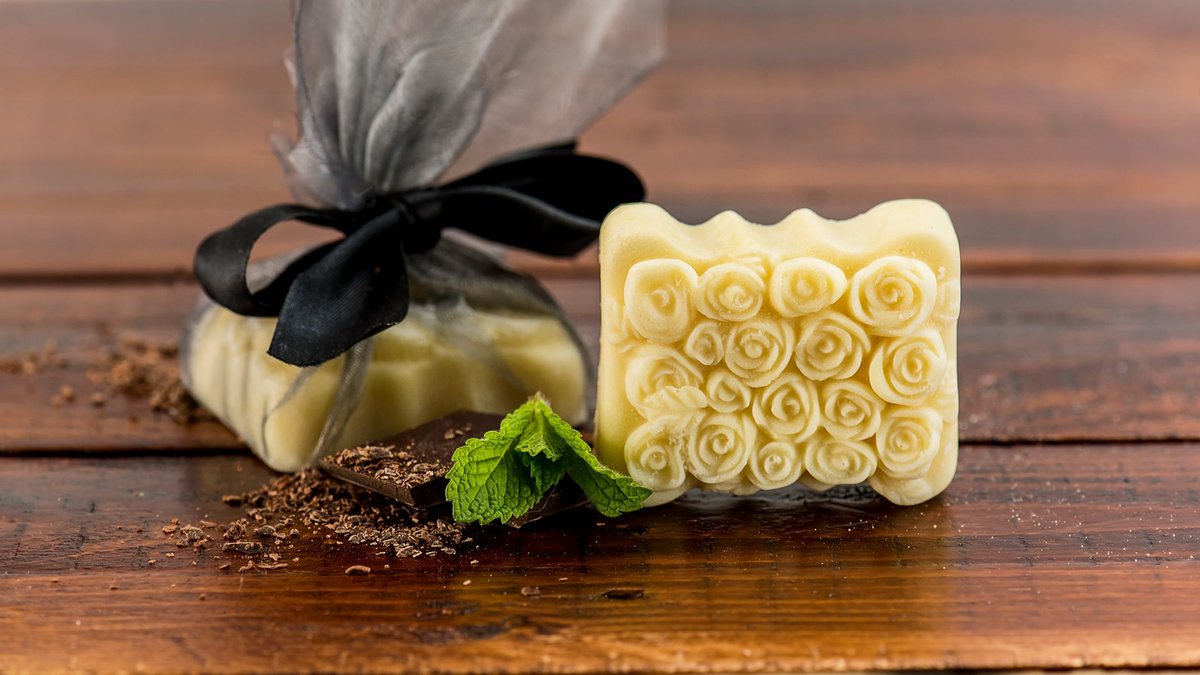
Massage oils and lotions are staples for many work places, and increasingly in people’s homes as a part of their self-care and skin care routines. Massage bars are a more travel-friendly choice, and they’re both less messy and easier to use on your own body. They’re especially great to take on overseas trips, since you don’t want to bring any liquids with you on the plane!
You can purchase a massage bar from some retail stores; however, making them yourself makes it easier to customize them and will give you a sense of personal satisfaction that you just can’t recreate when buying them at a store. Besides, it’s often cheaper to make them yourself, too!
When making them yourself, you can avoid allergens by making sure you’re using organic ingredients. Prioritize your favourite scents, and even choose the shape and size of the bar by making it at home. Consider making some for your friends and family for a thoughtful and cost-effective gift!
Making a massage bar at home is probably more simple and straightforward than you think. All the tools you’ll need are probably already in your kitchen. First, you’ll either need a double boiler or two pans. You’ll want to use these to mix and melt the base ingredients and essential oils together. Second, you’ll need a mold.
Recipe
This one is very popular and simple, but you can find others that will work just as well!
- 4 ounces of Natural Yellow Beeswax
- 4 ounces of Natural Cocoa Butter
- 4 ounces of Fractionated Coconut Oil (a very absorbable oil - great for skin applications!)
- 1 ounce (total) of True Lavender and Sweet Orange For a relaxing yet energizing scent, or 1 ounce YlangYlang and vanilla for a feminine perfume - or whatever fragrance or essential oil you want.
Notes
Not sure what blends will work? Try and buy a pre-made blend: many of them are chosen according to their aromatherapy function, but also because they make a pleasant combination. In any case, these blends are always cheaper than making the same mix yourself.
Since you need the massage bar to melt at our skin temperature, you have to create a mixture that will melt around 37 degrees. Different types of base ingredients will have different melting point as well. For example, cocoa butter has a higher melting point than shea butter. That is to say, you have to add more liquid oil to a cocoa butter based massage bar to ensure that you can use it properly.
Step-by-step instructions These can be applied to almost any recipe you’ll find. 1). Measure out your oils and start melting and mixing them together in a double boiler. If you don’t have a double boiler, don’t rush out and buy one. Just use one large saucepan and one small enough to fit inside the large one as a double boiler.
2) Slowly pour the mixture into the molds and set them aside to cool. Once the bars have completely cooled, gently pop them out of the molds. Since they are formulated to melt at skin temperature, be sure to keep them in a cool place like a cupboard or the refrigerator.
And you’re done! If you’re planning on giving them as gifts, wrap them in wax paper then with bright tissue paper. Simply put a ribbon around them with a small note, and they’re ready! Or if you are want to find more others products related massage bar. You can visit our website at Lierre, which has the best quality acupuncture needles, massage tables, massage accessories, personal care products and more at great prices.


